ShoutDesigner App Review
. 1 Comment
Hello Everyone! It is my first App review so please bear with me. I hope you will like it. Please write comments below if you find it helpful, or if you have any comments on the Application.
Shout Designer is a small application with a variety of useful features. I experienced this application very useful for those who are looking to use readymade and editable web buttons within few clicks. It allows exporting button into PNG, JPG, and Gif and even it allows you to copy the button in CSS as well. This application is built on Adobe Air, which means you can run this application on both Mac & Windows PC.
Overview:
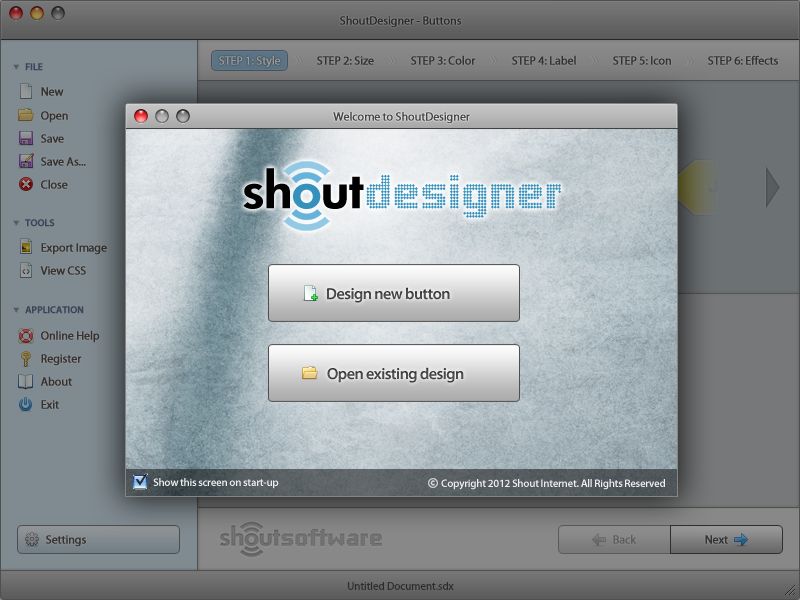
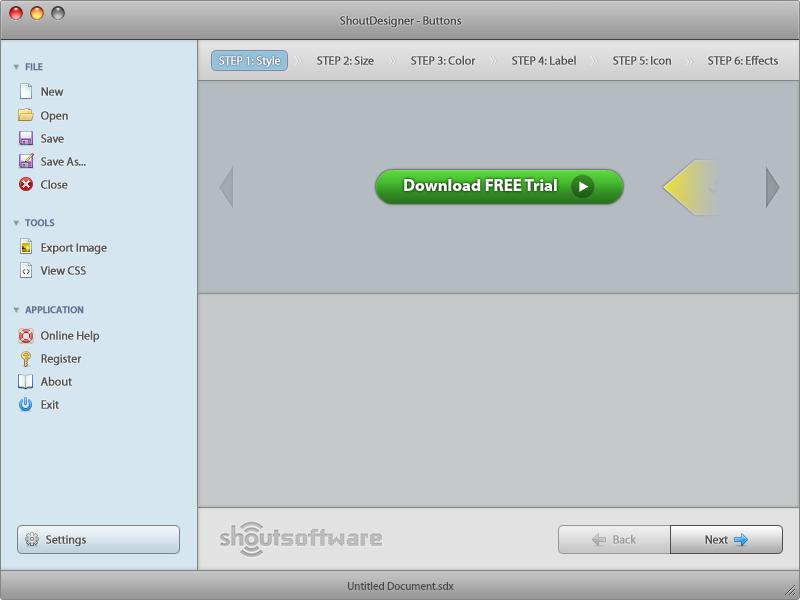
The interface is a Mac style, which is easy to use and has two main columns, sidebar and preview pane or button configuration area. Sidebar have three main categories, file, tools, and about application.
Sidebar:
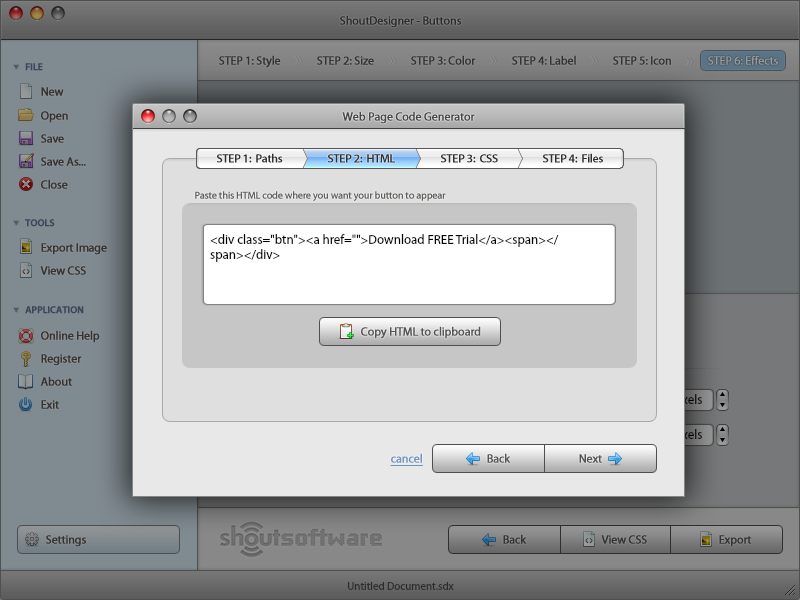
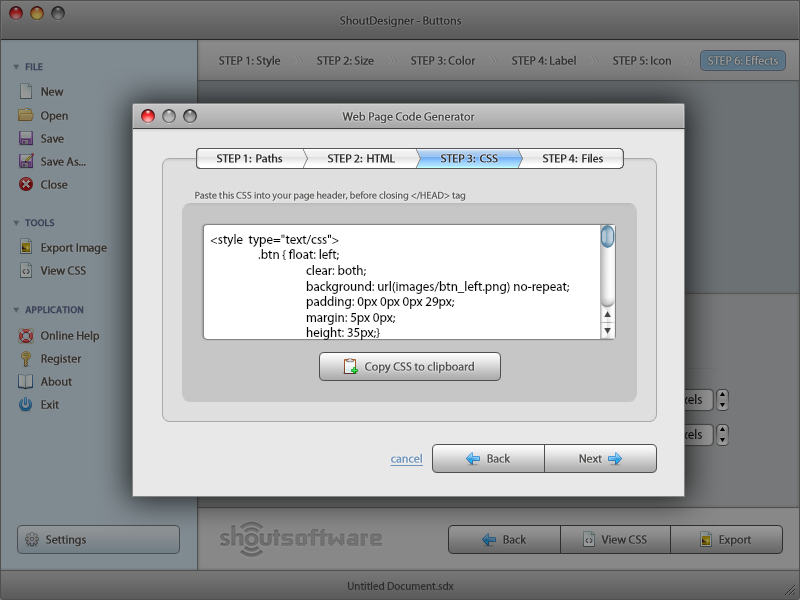
Under the file menu, you can create new, save, open and close project. Tools menu let you export button into an image format or you can view/copy CSS from “View CSS” dialog box along with the other necessary html, which you can edit as well.
Button Configurations Pane:
At the top there is a small 6 steps tab menu, you can navigate between these steps and change the button settings according to your needs. Beneath the tabs, there is a button preview area, which display the live button updates.
Step 1 – Style:
This tab displays all the default buttons. All the buttons are displayed in one line. I should suggest that there should be a gallery preview and buttons numbers as there is a lot of unused space in the first tab.

Step 2 – Size:
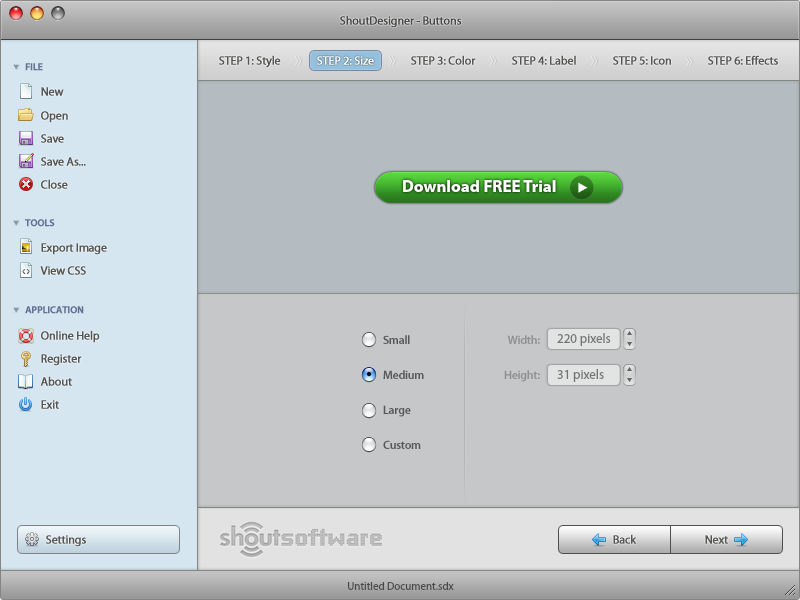
In the size tab, you can adjust the button size and there are four options to adjust the button dimensions small, medium, large or you can enter pixel values to make a custom size button.
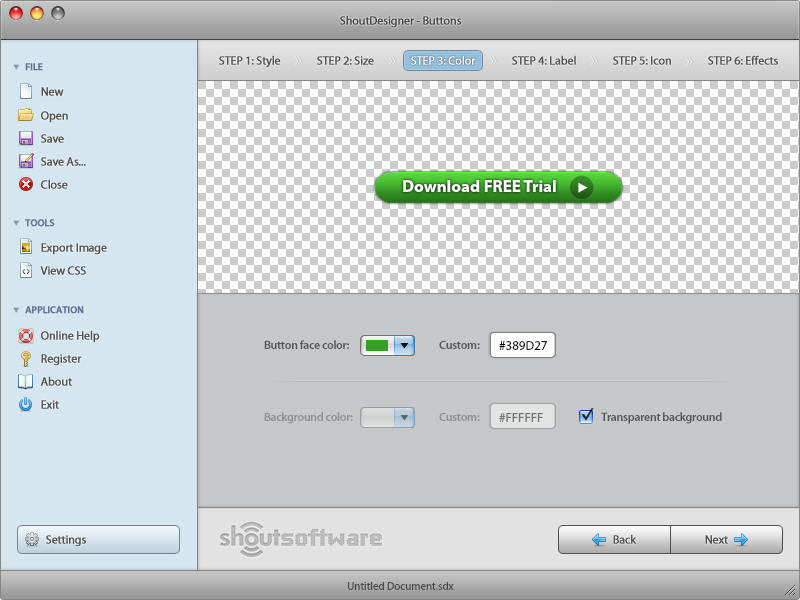
Step 3 – Color:
This tab enables you to set the button colors from the color swatches or you can enter custom Hex values. You can even turn on the temporary background color option to see the results.
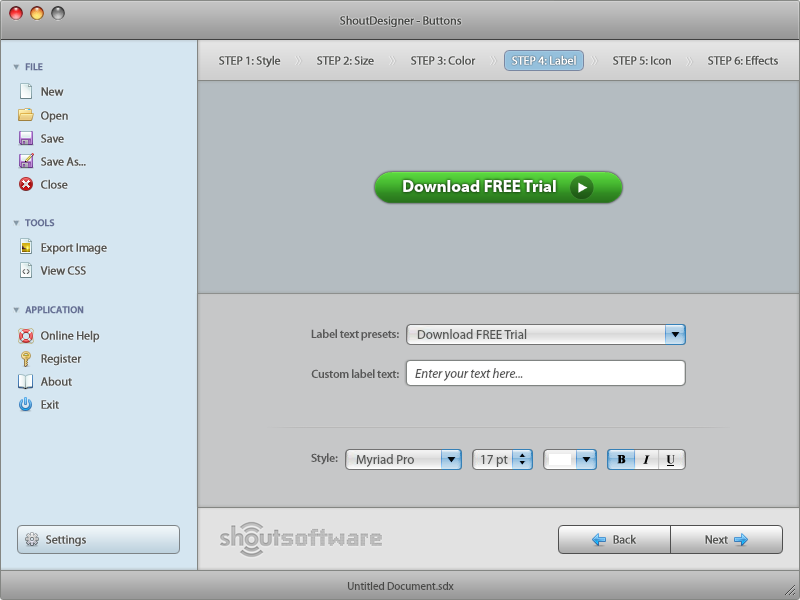
Step 4 – Label:
Here you can change the text of button label and font type, size and color from the character panel.
Step 5 – Icon:
In this tab, you can change the icon style, size and its alignments as well. There are plenty of icons to choose from, in fact up to 160 icons but you cannot add custom icon.
![]()
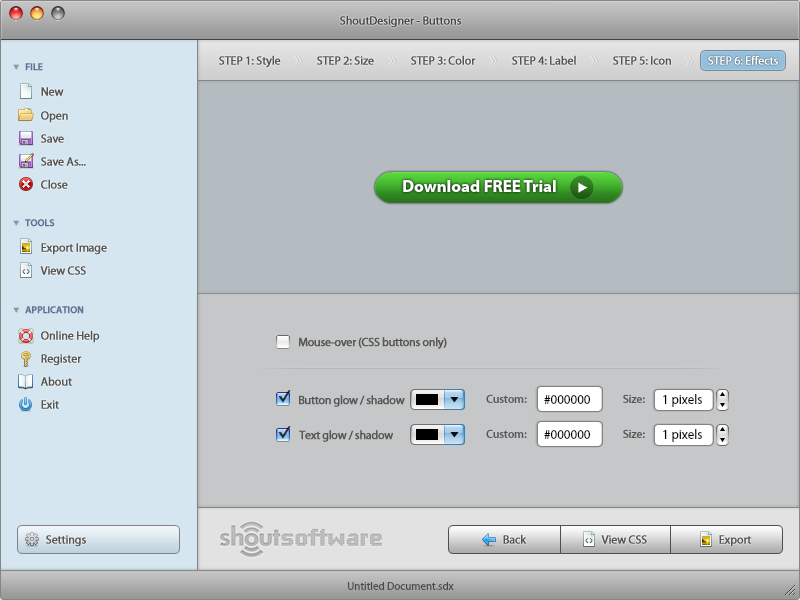
Step 6 – Effects:
In this step, you can apply the eye catching effects to the button such as the outer glow/shadow of the button and text, you can also enable the mouse over effects for CSS buttons only. You can change glow/shadow color and size. From the bottom of this tab, you can view CSS and export button into PNG, JPG & Gif format.
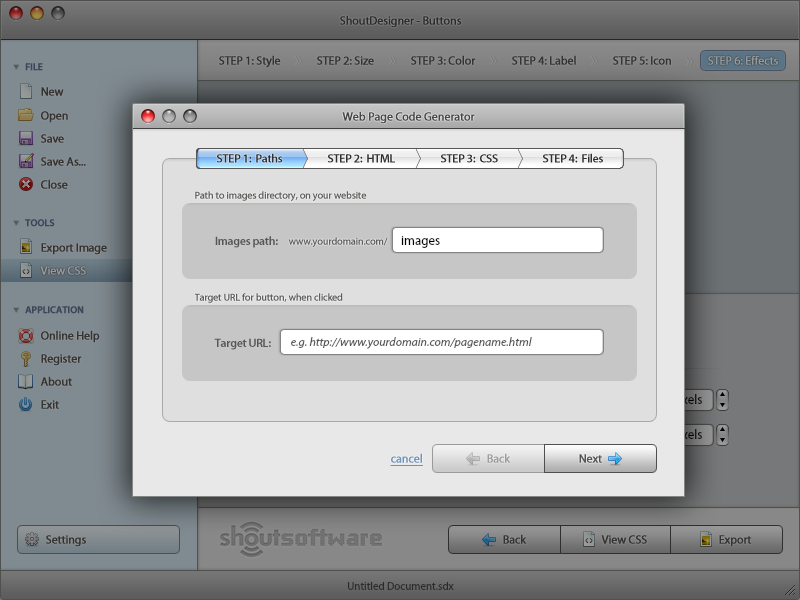
CSS Configurations Pane:
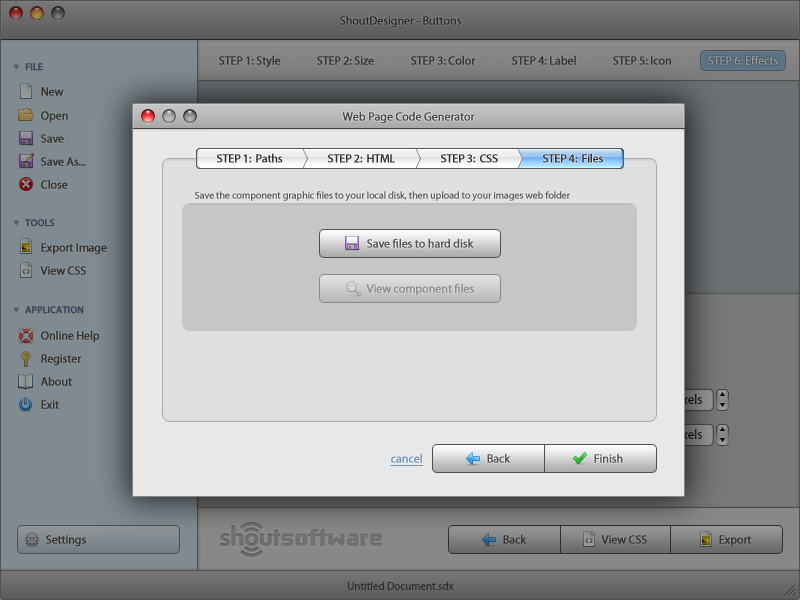
You can edit button CSS/HTML for image paths in the CSS View panel. Here you can also copy the code into clipboard and save it to the file as well.
Here are few drawbacks which i would like to mention:
- There is no gallery preview feature, where we can see button collections.
- It is a fixed window size application, which means we cannot maximize it.
- It does not allow editing mouse-over effects.


unknown — July 28, 2012 . 4:09 Edit
The width of the vertical menu bar is a bit too wide…Notice yourself you will realize it.
thanks.
Anonymous.